How to custom-train Ultralytics YOLO26 for instance segmentation
Learn how to custom train Ultralytics YOLO26 for instance segmentation, where the model identifies and separates each individual object using pixel-level masks.
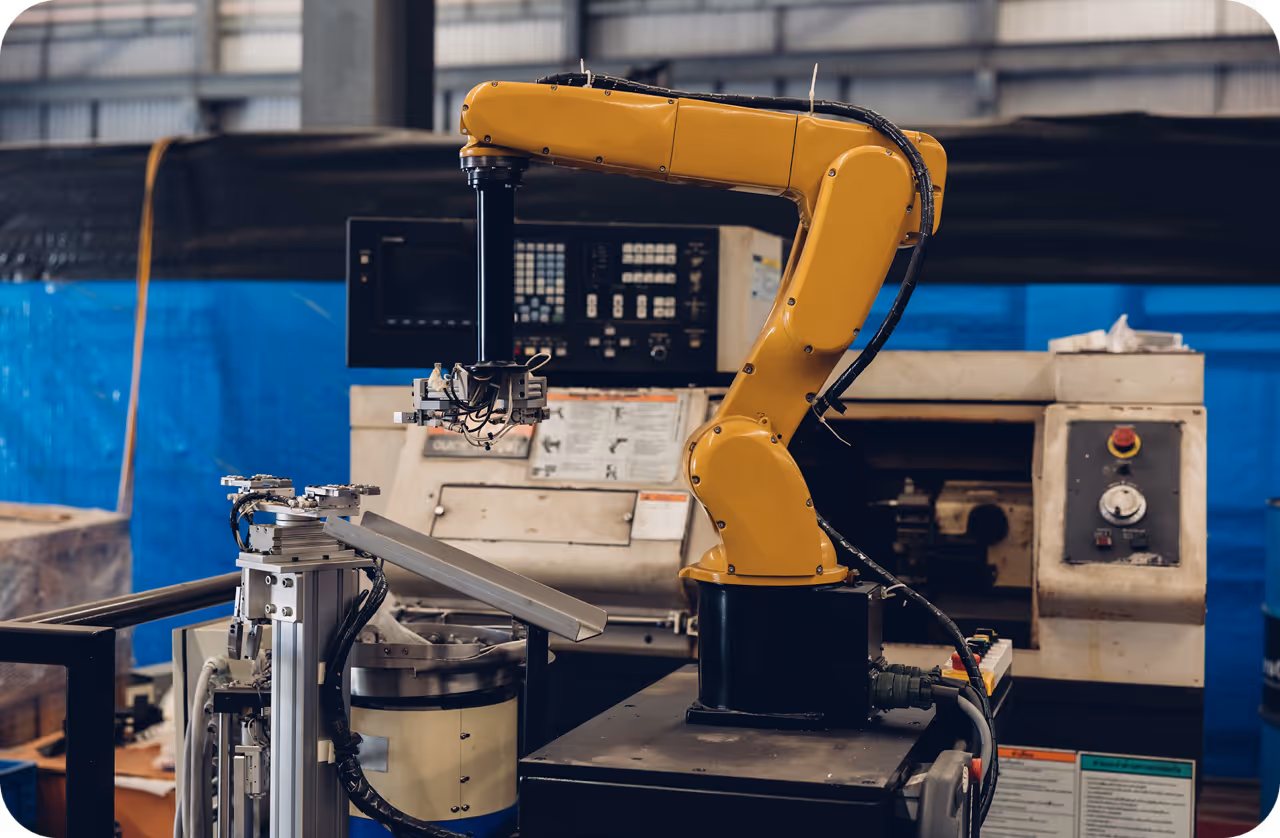
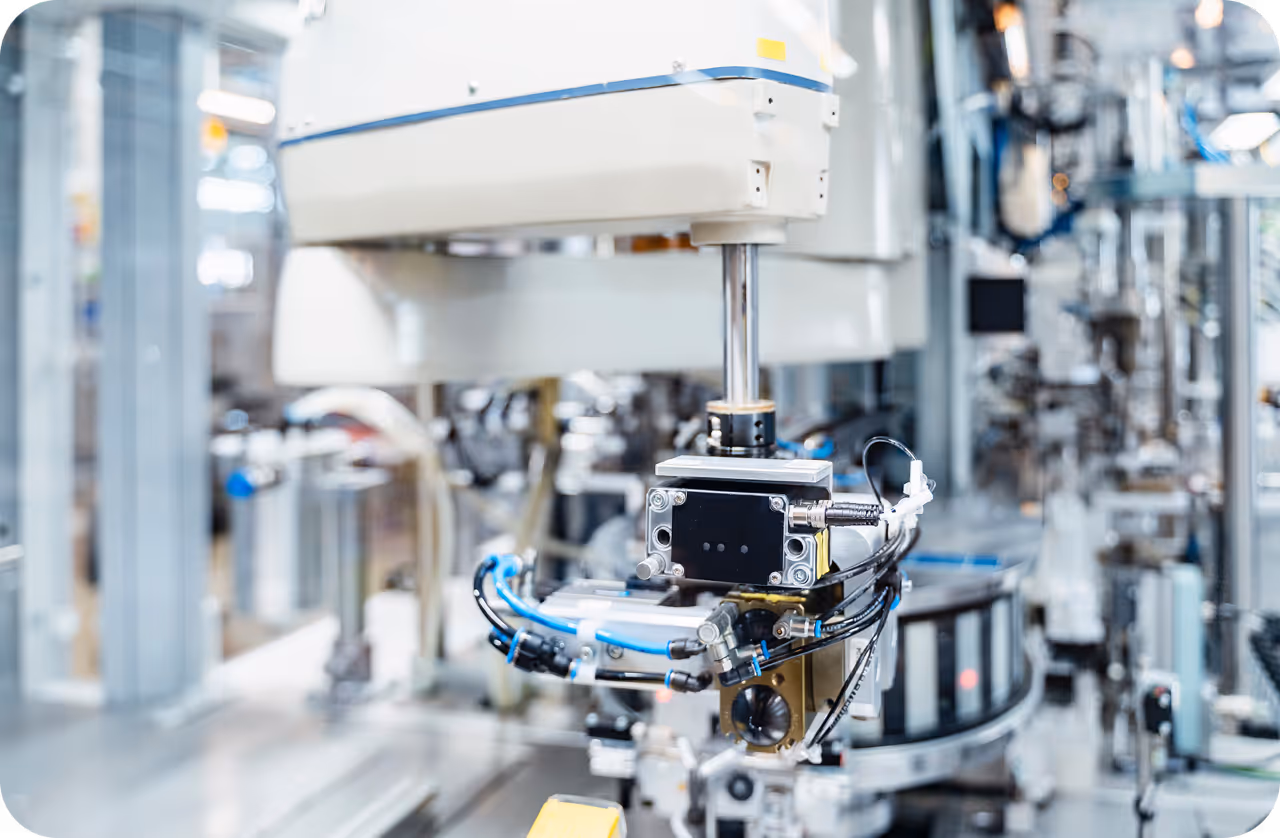
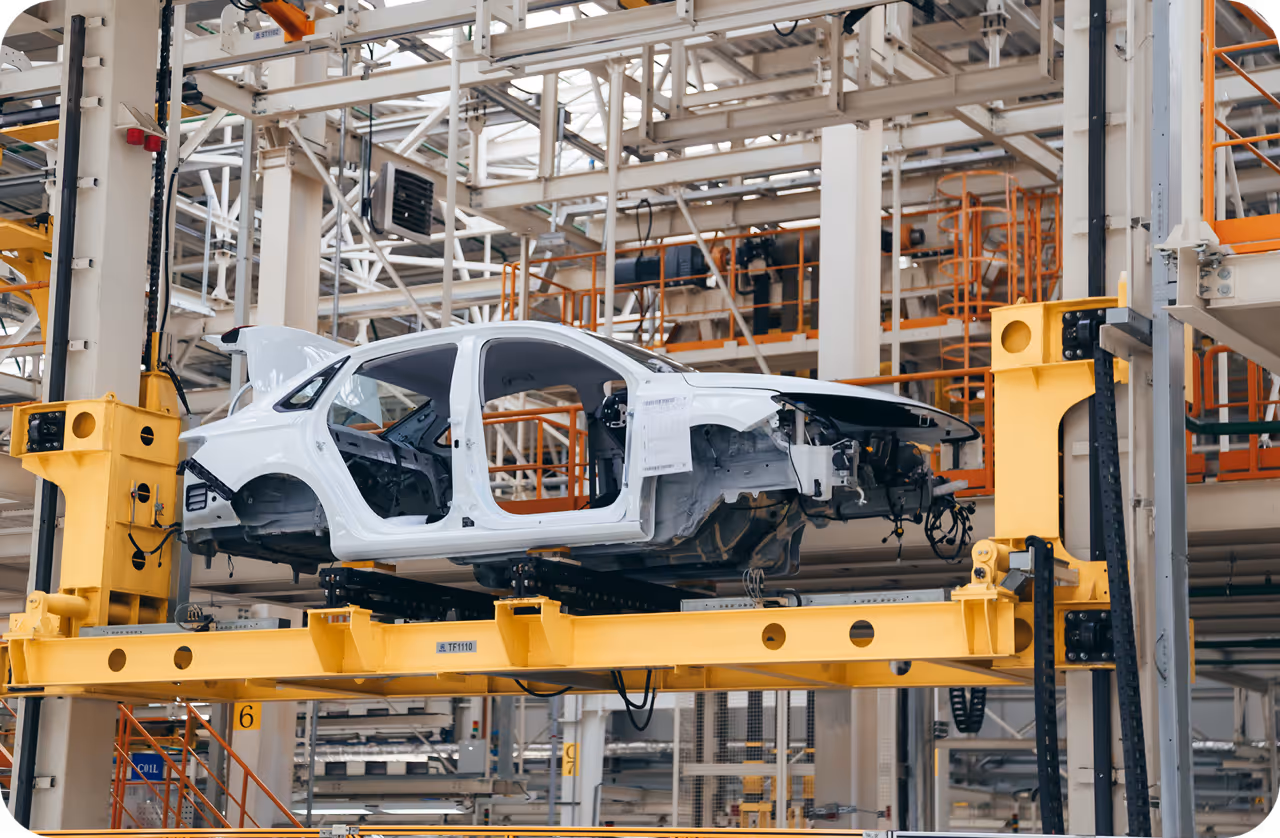
Thanks to recent tech advancements, many smart systems that play a silent but impactful role in our lives are powered by AI. For instance, when a car runs a red light and a camera automatically records the violation, or when an automated quality inspection system spots a manufacturing defect on a production line, AI is doing the work behind the scenes.
In particular, a branch of AI known as computer vision enables machines to interpret and understand images and video. Computer vision enables systems to recognize objects, track motion, and analyze visual details in real time, making it essential for applications such as traffic monitoring, industrial inspection, and robotics.
These capabilities are made possible through computer vision models such as Ultralytics YOLO26, which supports a variety of vision tasks, including object detection and instance segmentation. While object detection identifies objects using simple bounding boxes, instance segmentation goes further by outlining each object at the pixel level, enabling more accurate and reliable results in real-world scenarios.
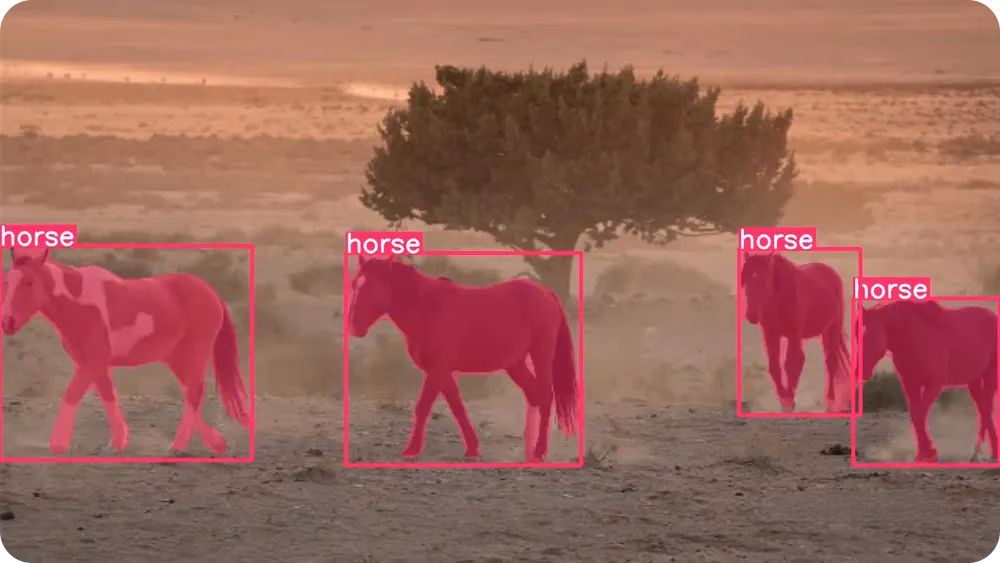
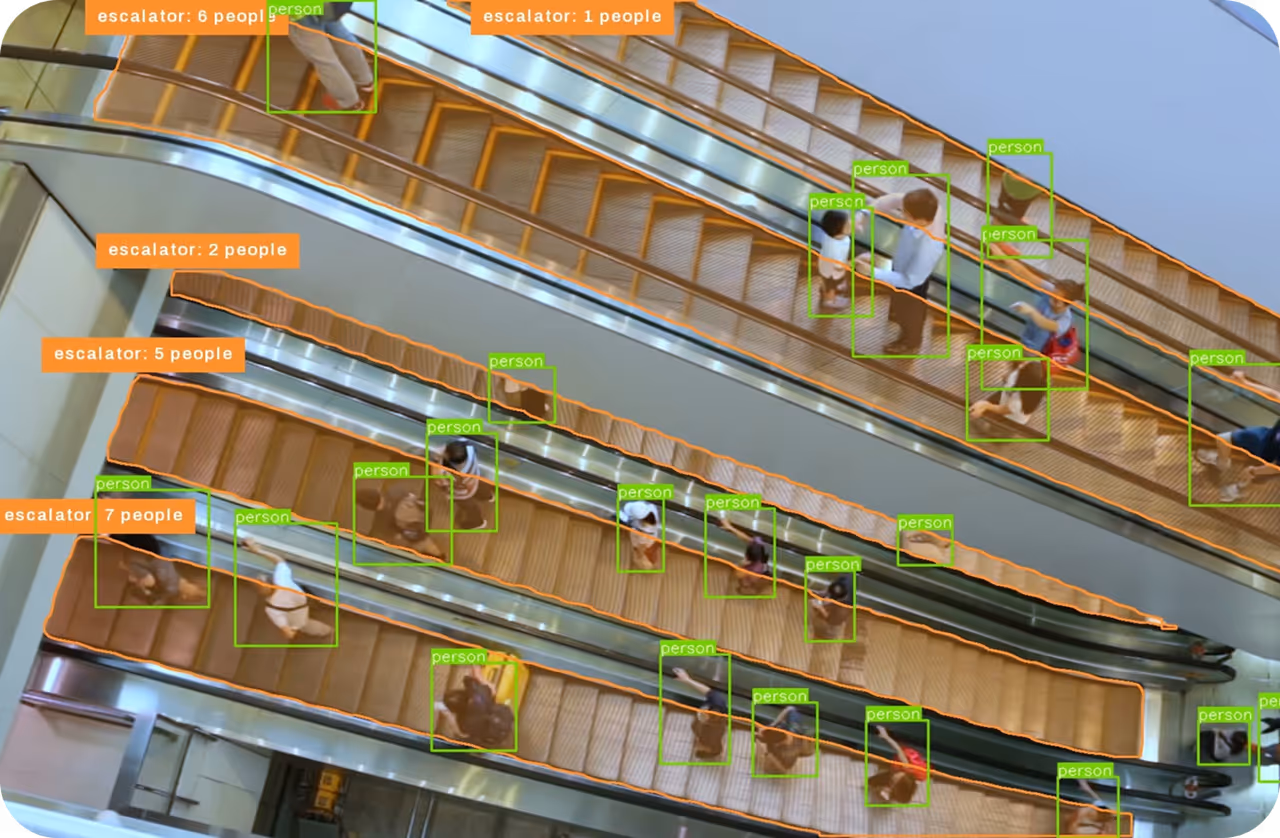
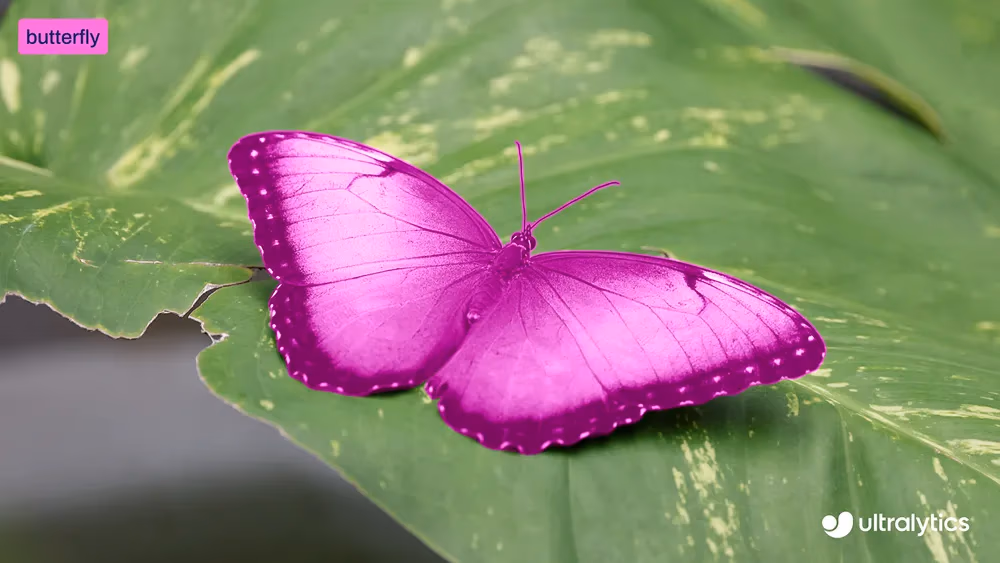
Fig 1. Segmenting objects in an image using YOLO26
Models like YOLO26 are pretrained and can segment everyday objects such as people, cars, and animals right out of the box. However, for more specific applications, they can also be custom-trained. In other words, the models can learn to understand what objects look like and how to outline them accurately.
In this article, we’ll walk through how to custom-train Ultralytics YOLO26 for instance segmentation. Let's get started!
Link to this sectionWhat is instance segmentation?#
Before we dive into training models, let’s take a step back and understand what instance segmentation actually means.
Instance segmentation is a computer vision task that lets a model find each individual object in an image and outline its exact shape. Instead of only identifying that an object exists, the model looks at every pixel in the image and decides whether it belongs to a specific object.
This means it can separate objects even when they overlap or are very close together. A key concept that makes it easy to visualize instance segmentation is a mask.
A mask is a pixel-level outline that covers only the area of an object. You can think of it like coloring in the object with a highlighter while leaving everything else untouched.
Each object gets its own mask, which allows the model to tell one object apart from another, even if they are the same type, such as two cars or two people standing next to each other.
Fig 2. A look at instance segmentation
To get a better idea of what instance segmentation is, we can compare it with other common computer vision tasks. Object detection uses bounding boxes, which are simple rectangles drawn around objects. Bounding boxes are fast and useful, but they don't capture an object’s exact shape.
Meanwhile, semantic segmentation labels every pixel in the image by category, but it doesn't distinguish between separate objects of the same class. Instance segmentation combines the best of both approaches by identifying object categories and assigning a separate mask to each individual object.
Since instance segmentation provides such detailed information, it is especially useful in real-world applications like automated quality inspection, medical imaging, and robotics. Tasks that require precise measurements, accurate boundaries, or object separation can benefit from this pixel-level understanding.
Link to this sectionUltralytics YOLO26 supports instance segmentation#
Ultralytics YOLO26 is an end-to-end, non-maximum suppression (NMS)-free, state-of-the-art computer vision model designed to handle real-world vision tasks quickly and efficiently. It belongs to the Ultralytics YOLO family of detection models, which can process images and video in real time while delivering accurate results.
YOLO26 supports multiple vision tasks within a single framework, including object detection, pose estimation, image classification, oriented bounding box detection (obb detection), and instance segmentation.
Out of the box, YOLO26 comes pretrained, meaning it has already learned to recognize common objects such as people, vehicles, and everyday items from large, widely used datasets like the COCO dataset and the ImageNet dataset. You can start using the model immediately without any additional training.
However, when your application involves unique objects, specific environments, or unusual lighting conditions, custom model training can significantly improve results. By training YOLO26 on your own labeled images, you can teach the model exactly what to look for and how to outline objects more accurately for your specific use case.
This process is also referred to as fine-tuning. Instead of training a model from scratch, fine-tuning starts with a pretrained YOLO26 model and gently adapts it using your own data. Because the model already understands general visual patterns like edges, shapes, and textures, it needs far fewer labeled images and much less time to learn your specific objects.
Simply put, fine-tuning is faster, more efficient, and more accessible than training a model from the ground up. Custom training YOLO26 is a practical option even for beginners or teams working with limited data and computing resources.
Link to this sectionExploring YOLO26 instance segmentation applications#
So, where can instance segmentation be impactful? In situations where it’s important to tell objects apart and understand their exact shapes, especially when things get crowded or overlap.
Here are some common workflows where instance segmentation makes a real difference:
- Aerial and drone imaging: This task enables drones to separate objects such as buildings, vehicles, and vegetation in aerial images for mapping, inspection, and surveying.
- Sports analytics: Instance segmentation helps analyze player movement and interactions by separating individual athletes from the background during games or training sessions.
- Construction and infrastructure monitoring: It helps identify structural elements, cracks, or damaged areas in buildings, bridges, and roads for maintenance planning.
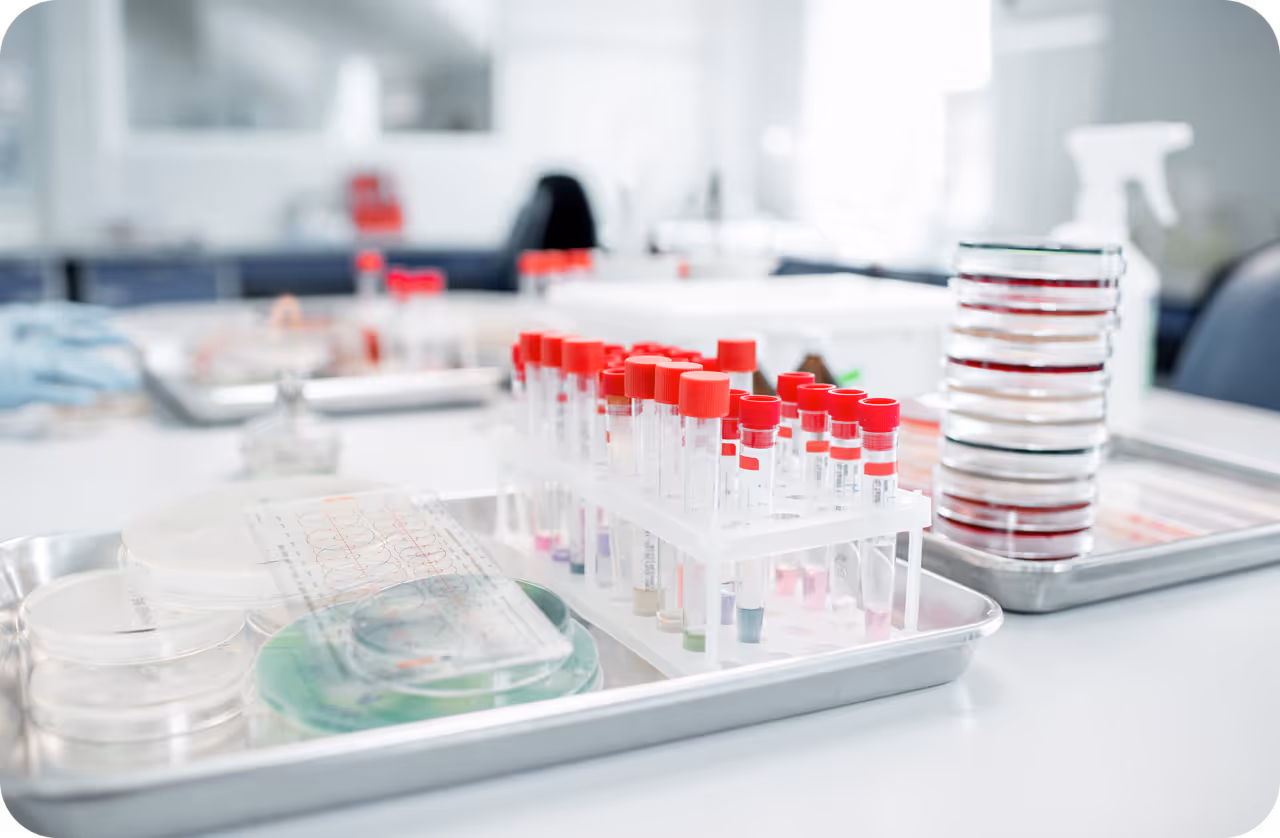
- Healthcare and medical imaging: Instance segmentation makes it possible to precisely outline cells, tissues, or medical tools, supporting more accurate analysis and diagnosis.
- Agriculture and environmental monitoring: It can identify and separate crops, fruits, or plant diseases, making it easier to estimate yields and apply targeted treatments.
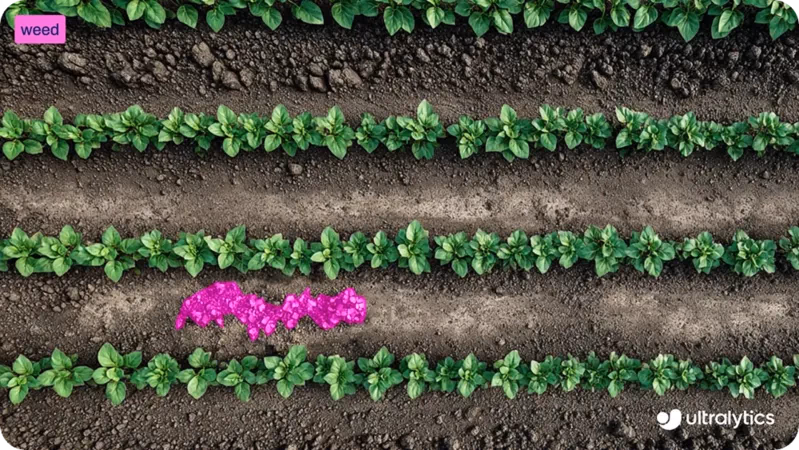
Fig 3. An example of segmenting weeds using YOLO26 (Source)
Link to this sectionHow custom training YOLO26 for instance segmentation works#
Next, let’s discuss how custom training works. While training a model might sound technical, the overall process is straightforward.
You can prepare your images, label the objects you want the model to learn, configure a small settings file, and then train YOLO26 using the Ultralytics Python package. The Ultralytics Python package is a software library that provides ready-to-use tools for training, testing, and deploying YOLO models without needing to build everything from scratch.
Link to this sectionStep 1: Prepare your custom dataset#
The first step is preparing your custom segmentation dataset. A dataset is simply a collection of images that showcase the objects you want the model to learn.
Try to include images that reflect real-world conditions, such as different angles, lighting, backgrounds, and object sizes. The more varied your images are, the better your model will perform.
For instance segmentation, your images also need annotations. Annotation involves labeling the objects in each image so the model knows what to learn. Instead of drawing simple boxes, you’ll draw detailed outlines (polygons) around each object to mark its exact shape. These outlines become the masks the model learns to predict.
There are several open-source annotation tools you can use to create these labels. Many of these tools provide user-friendly interfaces where you can upload images and draw object outlines directly on them.
Once your images and annotations are ready, you can organize them into training and validation folders. A typical split is 80% of the images for training and 20% for validation, although 70% for training and 30% for validation is also common, depending on the size of your dataset. The training set teaches the model, while the validation set is used to measure how well it performs on images it hasn’t seen before.
Keeping this split balanced and ensuring both folders contain a variety of examples is important. A clean, well-labeled dataset with a proper train and validation split forms the foundation of a strong instance segmentation model.
Link to this sectionStep 2: Create a dataset YAML file#
After preparing your images and annotations, the next step is to create a dataset YAML file. This file highlights where your dataset is located and which object classes the model should learn during training.
In this file, you can define the dataset root directory, the paths to your training and validation image folders, and the list of class names. The class names have to be listed in the same order as the class numbers used in your annotation files, so everything matches correctly.
If you have any questions about the exact format, you can refer to the official Ultralytics documentation for more details.
Link to this sectionStep 3: Install the Ultralytics Python package#
Now that your dataset and YAML file are ready, the next step is to install the Ultralytics Python package.
This package includes the tools needed to train, validate, run inference, and export YOLO26 models. It provides a streamlined way to work with YOLO models without building complex training pipelines from scratch.
Before installing the Ultralytics Python package, it’s also important to choose where you want to run your code. You can work with the Ultralytics package in several different development environments, like:
- Command line interface (CLI): It is a text-based environment where you interact with your computer by typing commands. Instead of clicking buttons or navigating menus like you would in a graphical interface, you enter written instructions to run programs and perform tasks directly.
- Jupyter Notebooks: An interactive environment where you write and run code in small sections and immediately see the output. This is helpful for experimentation and learning.
- Google Colab: A cloud-based notebook platform that requires no local installation and provides optional access to graphics processing units (GPUs). This is often the easiest option for beginners.
Once you’ve chosen your environment, you can install the Ultralytics Python package. To install it, run the following command:
pip install ultralytics
If you’re using a notebook-based environment such as Google Colab or Jupyter Notebook, add an exclamation mark at the beginning of the command. If you run into any installation issues, you can refer to the Ultralytics documentation or the troubleshooting guide for common fixes and environment setup tips.
After installation, you’ll be ready to load a pretrained YOLO26 segmentation model and begin training.
Link to this sectionStep 4: Train YOLO26 for instance segmentation#
Before starting training, you’ll need to choose a model size. YOLO26 models are available in different sizes: Nano (n), Small (s), Medium (m), Large (l), and Extra Large (x).
Smaller models train faster and run more efficiently on central processing units (CPUs) or edge devices, while larger models typically provide higher accuracy but require more memory and benefit from GPU acceleration. If you are just getting started or working with limited hardware, the Nano version (YOLO26n) is a practical choice.
Once you’ve selected a model size, the next step is to load a pretrained segmentation model and begin training it on your custom dataset. To do so, you’ll need to specify the pretrained model file, the path to your dataset YAML file, the number of epochs, and the image size as shown below.
from ultralytics import YOLO

model = YOLO("yolo26n-seg.pt")
results = model.train(data="path/to/file.yaml", epochs=100, imgsz=640)
The number of epochs determines how many times the model goes through the entire training dataset. With each epoch, the model makes predictions, compares them to the correct annotations, calculates errors, and updates its internal parameters to improve performance.
If training starts correctly, you will see the model configuration, dataset scanning, and training progress displayed in your terminal or notebook. As training continues, loss values and evaluation metrics will update after each epoch, showing how the model is improving over time.
Link to this sectionStep 5: Evaluate the custom-trained model’s performance#
After the training process is complete, you can review and validate the model’s performance metrics. In Google Colab, you can navigate to the “runs” folder, then to the “segment” folder, and finally to the “train” folder, where you’ll find logs displaying key performance indicators.
For users working in a Python environment, the training results are saved by default in the “runs/train/” directory within your current working directory. Each training run creates a new subdirectory, such as runs/train/exp or runs/train/exp2, where you can find logs, saved weights, and other outputs related to that experiment.
If you’re using the CLI, you can access and manage these results using the “yolo settings” command. This command allows you to view or modify the paths and configurations related to training logs and experiment details.
Among the saved outputs, you’ll also find graphs generated during training. These graphs show how the model improved over time. For example, they display how the loss decreased as the model learned and how evaluation metrics such as precision, recall, and mean average precision increased across epochs.
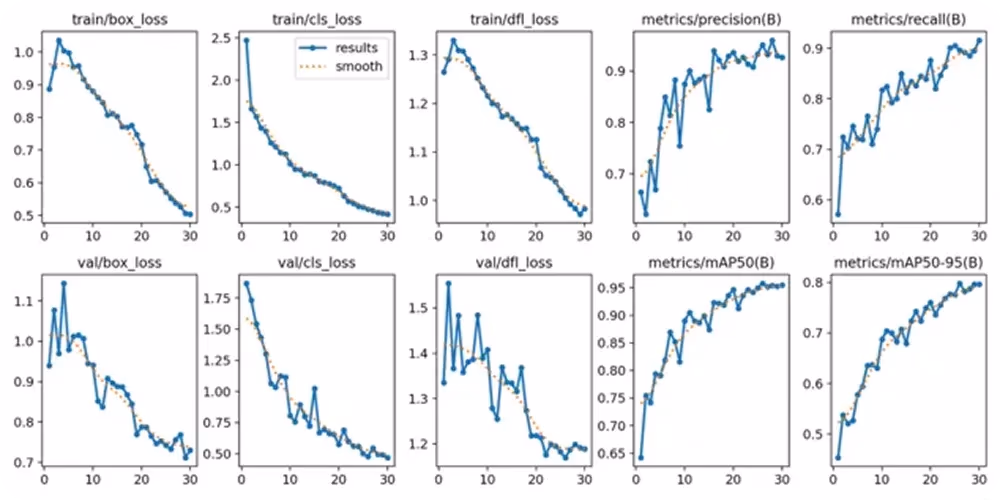
Fig 4. The type of graphs you can analyze to evaluate your model (Source)
These visual trends can help you understand whether the model trained successfully and how much it improved from the beginning to the end of training. Reviewing both the numerical metrics and the graphs gives you a clearer picture of how well your instance segmentation model is performing before moving on to testing with new images.
Link to this sectionStep 6: Test your model and run inferences#
After validating your model, the final step is to test it on new images. This process is called inference, which simply means using your trained model to make predictions on unseen data.
You can run inference in Python as follows:
results = model.predict("path/to/image.jpg", save=True, conf=0.3)In this example, "path/to/image.jpg" can be replaced with the path to the image you want to test.
The “save=True” setting tells the model to generate and store a new image that includes the predicted segmentation masks drawn over the original image.
The “conf=0.3” setting controls the confidence threshold, which means the model will only show predictions that it is at least 30% confident are correct. Lowering this value may show more detections, while increasing it will make the model more selective.
After you run the command, the model creates a new folder inside the runs directory where it saves the output image. You can open that saved image to visually check how well the segmentation masks follow the object boundaries and whether overlapping objects are separated correctly.
Testing the model on different images, backgrounds, and lighting conditions can give you a clearer understanding of how it performs outside of the training dataset. Once the results look consistent and accurate, the model is ready to be exported and deployed.
Link to this sectionStep 7: Export and deploy your model#
After testing your model and confirming that it performs well, the final step is to export and deploy it. Exporting converts your trained YOLO26 model into a format that can run in different environments, such as production servers, edge devices, or mobile applications.
Ultralytics supports multiple export formats, allowing you to choose the one that best fits your deployment setup. For example, you can export to ONNX for broad compatibility across platforms, TensorRT for optimized GPU performance on NVIDIA hardware, or OpenVINO for efficient CPU-based deployment on Intel devices. These integrations make it easier to run your model outside of the training environment and get strong real-time performance.
You can export your model in Python using the following command:
model.export(format="onnx")This command converts your trained model into ONNX format. You can replace "onnx" with other supported formats depending on your deployment needs.
Once exported, your model can be integrated into applications such as web services, embedded vision systems, robotics platforms, or industrial inspection systems. At this stage, your custom-trained YOLO26 instance segmentation model can move from experimentation into real-world deployment.
Link to this sectionKey takeaways#
Custom training Ultralytics YOLO26 for instance segmentation gives you the flexibility to build a model that truly fits your specific use case. By preparing a clear dataset, setting up your YAML file, training with pretrained segmentation weights, and reviewing the results, you can teach the model to accurately outline each object at the pixel level. Once tested and exported, your YOLO26 model can move from development into multi-scale real-world applications.
Join our community and take a look at our GitHub repository to discover more about AI. If you're looking to build your own vision AI project, check out our licensing options. Explore more about applications like AI in healthcare and vision AI in retail by visiting our solutions pages.